
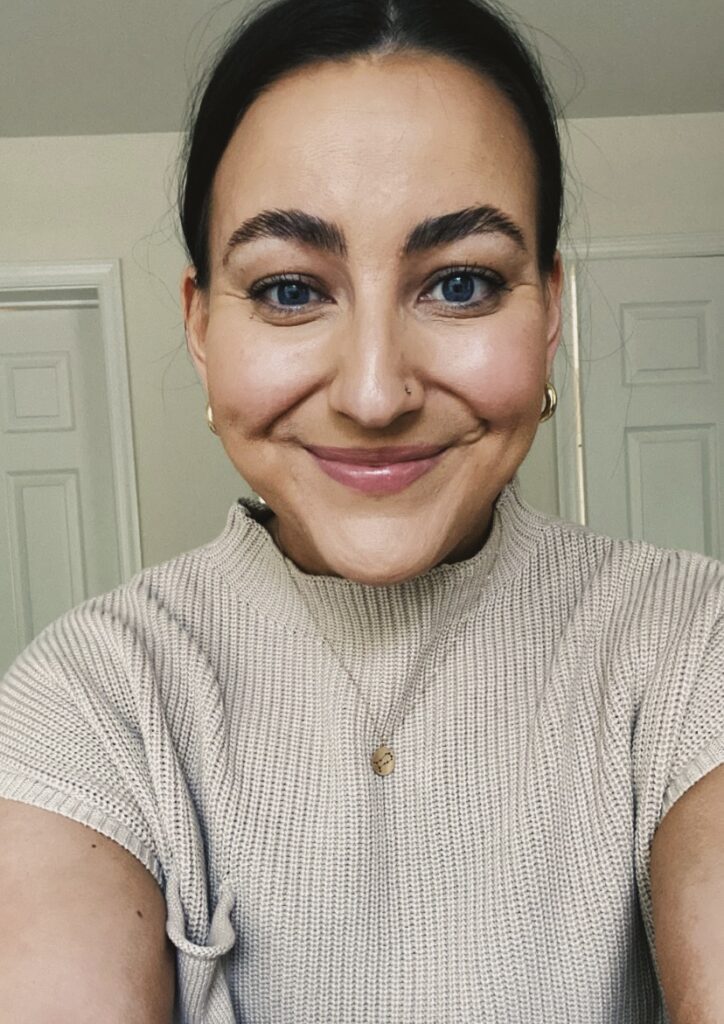
I will be forever grateful to my mother for not allowing me to get the thin, arched eyebrows that were all the rage in the 90’s. I did get my brows waxed in high school, but not into oblivion, and since I was too lazy to pluck them myself, my brows have remained fully intact. Something that my mid-30-year old self is very happy about. 90’s trends are having a moment and while razor thin brows haven’t quite made a comeback (at least not yet!), full, fluffy brows are in. I’ve found that the key to achieving thick, feathery brows is through a technique called brow lamination.
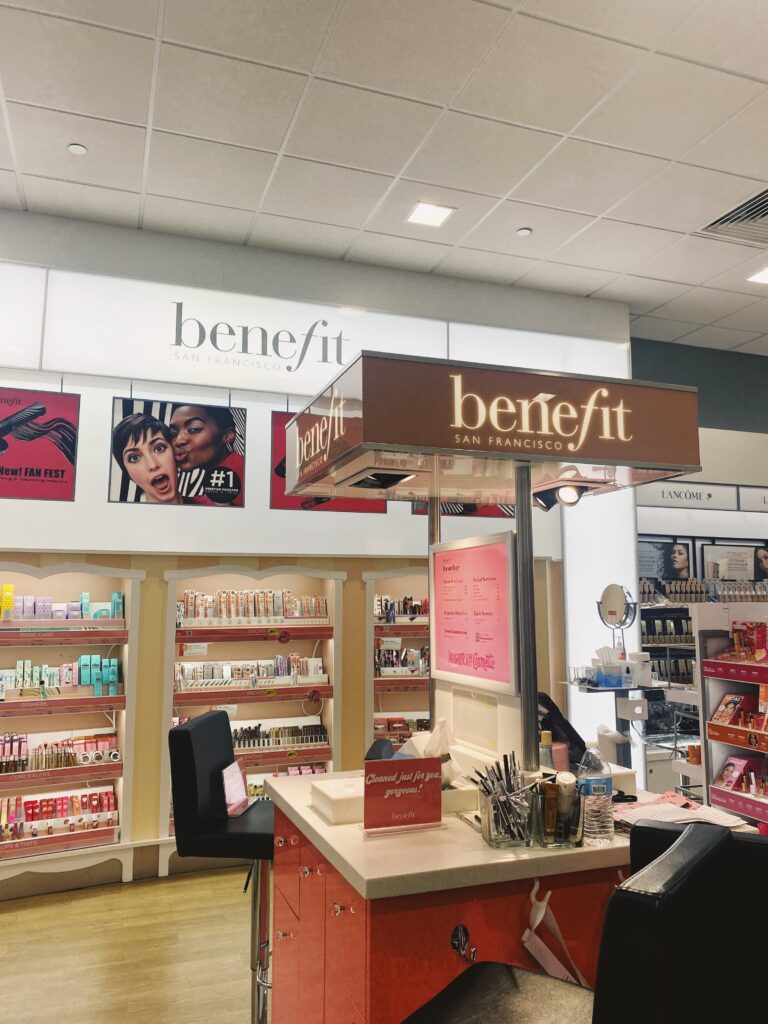
I discovered brow lamination thanks to TikTok and knew I needed to try the procedure myself. My search brought me to the Benefit Brow Bar, which is tucked away inside my local Ulta, and offers shaping, tinting and lamination services by licensed aestheticians. I chatted with Benefit Arch Expert and master brow artist, Tijhae Buchanan, while getting the procedure done and she gave me the lowdown on all things brow lamination — here’s everything you need to know.
What is brow lamination?
“I consider lamination a brow relaxer,” Buchanan explained. “Lamination perms the hair into an upright direction so the brows are more manageable and easier to maintain. It’s also easier to manipulate them, so you can brush them into an upright direction for a desired shape.”
If you’ve ever used gel to smooth your brows down and shape them yourself, brow lamination is definitely for you.
“The ideal candidate would be someone who has curly, unruly or coarse hair,” Buchanan added. “Or inverted eyebrows — someone whose eyebrows grow in multiple directions.”
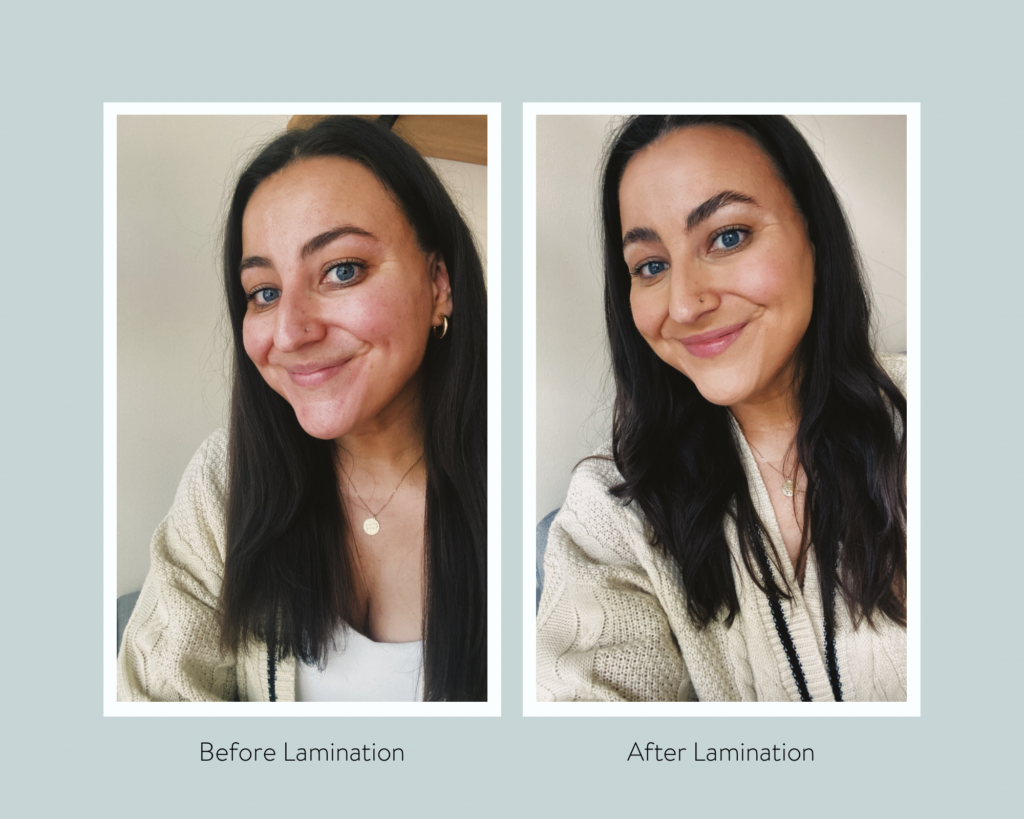
Lamination takes any and all bend and curl out of the brow hairs, so you’re free to style them any way you like. Buchanan said a lamination has two outcomes — a fluffy brow or a polished brow. Polished brows mean you style the brows back to their natural shape, while fluffy brows are lifted and feathery, which creates a bigger, bolder look. Personally, I like my brows somewhere in the middle of polished and fluffy, and I have fun styling them in different ways for different events!
What is the lamination process like?
Brow lamination happens in three steps, and the whole procedure takes about an hour. After a quick cleanse of the skin, the first step is the perm, which is a chemical process that can take anywhere from 6-13 minutes, depending on how thick or coarse your brows are. Buchanan will continuously check in and comb through the hairs to make sure they’re processing correctly. Benefit Brow Bar also offers a complimentary eye mask you can wear during your session, so be sure to ask for one during this step!
The second step is a neutralizer, which essentially stops the perm from processing, and the final step is conditioner, which helps to rehydrate the brows after the chemical process is finished. Once the brows are done, Buchanan will teach you how to style them in the way you like, so you can leave with confidence knowing you can recreate the look at home.
How do you take care of your brows once they’re laminated?
Once your lamination is finished, the first 24 hours are important if you want your brows to last as long as possible and the name of the game is keeping them dry.
“For the first 24 hours, I would avoid any sweating, sauna, steam or mist,” Buchanan shared. “If you get your eyebrows wet, you’re going to weaken the bonds of the chemical so your brows will go back to its natural state.”
Schedule your lamination appointment accordingly, preferably not the day before a big workout session, or a day at the pool.
“After 24 hours, use a hydrating oil daily for optimal shine and hydration,” Buchanan continued. She recommends brushing castor oil through the brows twice a day, in the morning and in the evening. And before you reach for a brow gel, Buchanan suggests trying the oil first. “Sometimes the oil itself can give you the shape you want if it’s done properly,” she shared.
I can vouch for this, as I took Buchanan up on her recommendation — castor oil in the morning sets my brows for the whole day, no brow gel required.
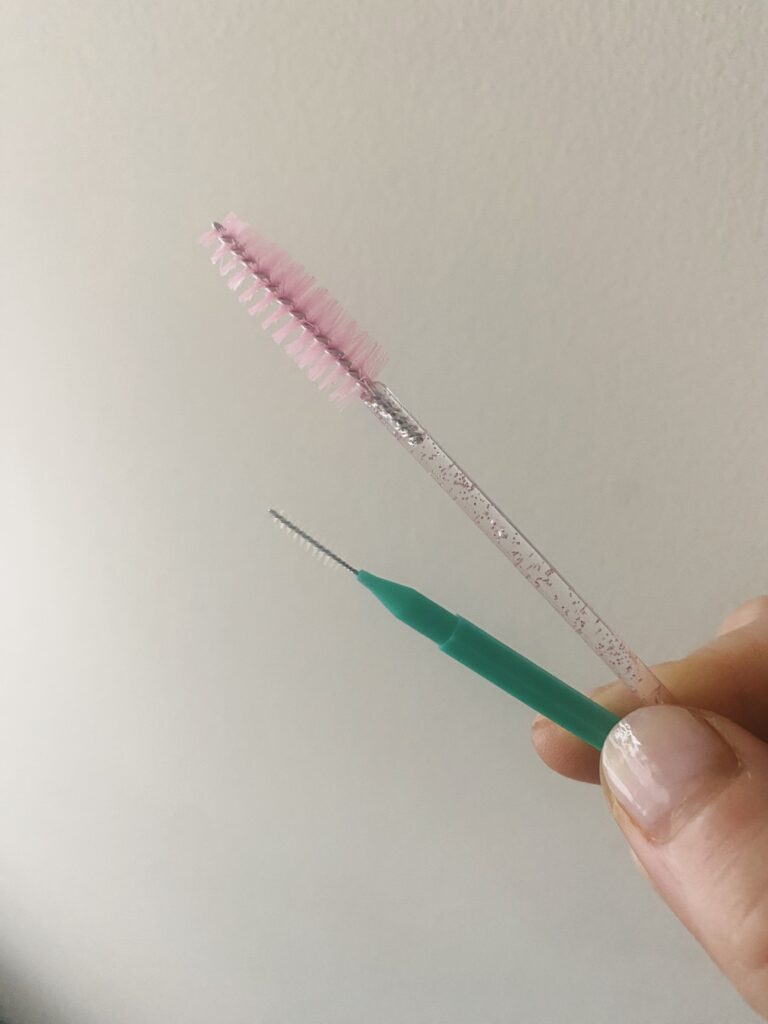
If you’re looking to style your brows with oil, a mascara wand is an essential tool to have, or if you want an even more precise way to style, Buchanan recommends micro brushes. “I like the micro tips, because they’re very small,” she said. “A mascara wand won’t necessarily get into all of the hair, so there’s space where it skips. A microwand is better for getting into each of the individual hairs.”
You can get both mascara wands and microwands on Amazon.
Do you need brow gel to keep the brows in place?
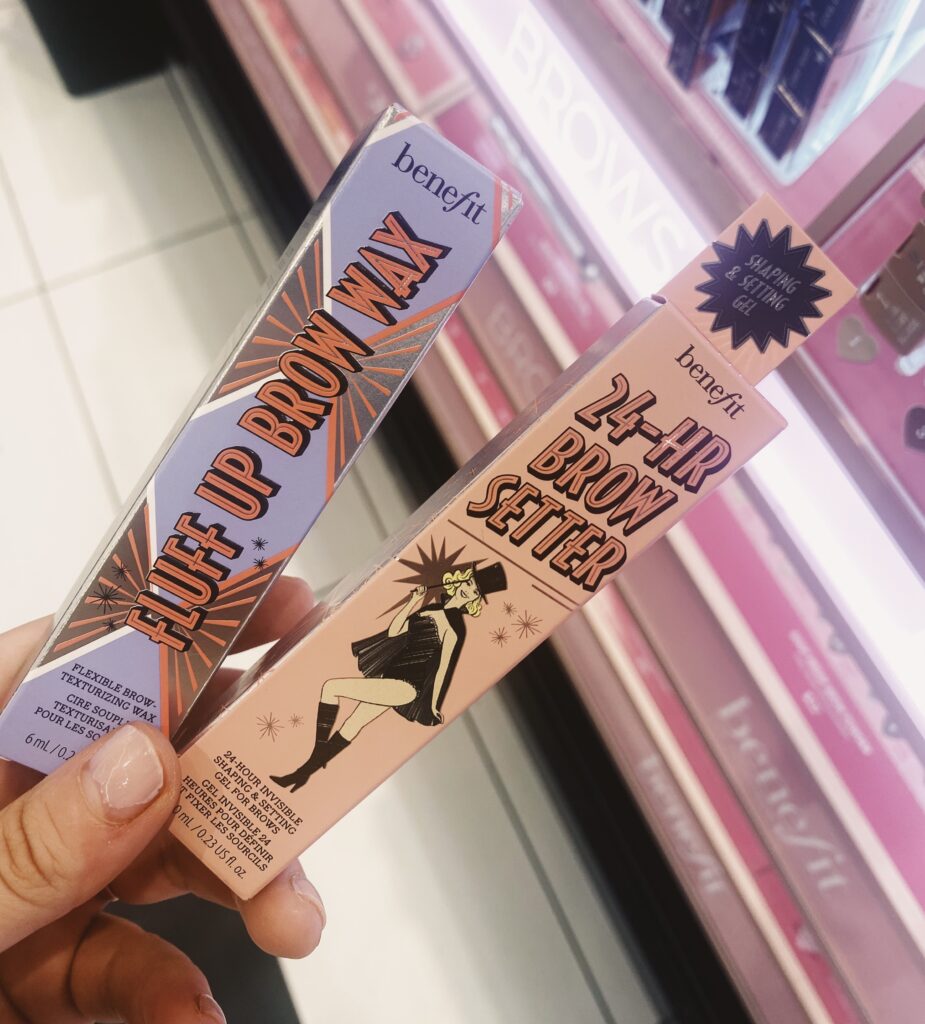
Lamination lasts for 6-8 weeks, and once the brows begin to go back to their natural state, that’s when brow gel can come in handy. Benefit offers two, the 24-Hr Brow Setter and the Fluff Up Brow Wax.
“In terms of lamination, I would suggest the Fluff Up Brow, it’s very hydrating,” Buchanan said. “The 24-Hr Brow can be compared to a hair spray, it’s a stronger hold,” Buchanan continued.
24-Hr Brow Setter is a great option if you want to try the lamination look without the lamination itself, or for when your brows are beginning to move back into their natural state.
Is brow lamination right for me?
As long as you’re willing to keep them hydrated afterwards, a brow lamination is a fun beauty service to try. A lamination can save you time wrestling with brow gel, especially if you have coarse or unruly eyebrows. Or if you’re someone who likes the look of full, luscious brows — a lamination will certainly help get you there.
I personally love my laminated brows, and plan on treating myself to the service a few times a year!
Kristen Garaffo is a home and lifestyle freelance writer based in Rockville, Maryland. Her work has appeared in Forbes, Apartment Therapy, The Everygirl, Hunker, The Daily Meal and The Daily Beast. She loves writing about how to live your best life at home and beyond, and she’s thrilled to be a contributor for Sonder/Sway. For more, follow her on Instagram @kristengaraffo