Check out the segment on FOX 5

There’s something about the first cool days of Fall that makes you want to reset your space, layering in texture, softening the palette, and adding those details that make home feel warm and welcoming.
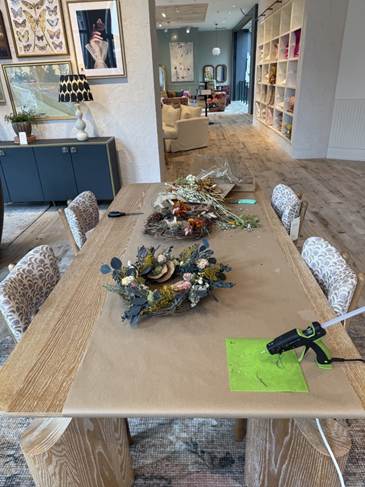
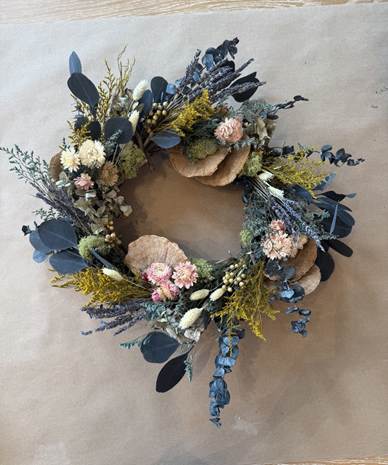
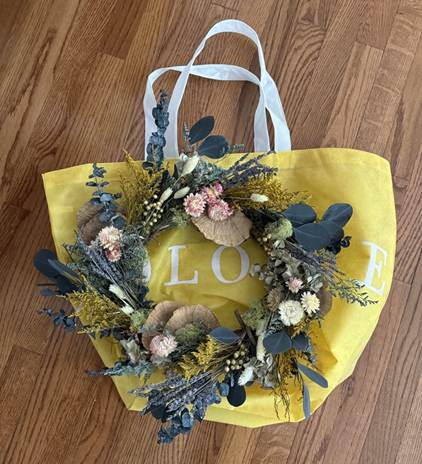
I’m the kind of person who counts down the days to sweater weather, craves a comforting soup on the stove, and never says no to a creative indoor project. This year, that energy led me to try my hand at making an autumn wreath. To get inspired, I joined a workshop and came away with both a new skill and a fresh piece of décor for my home.
Here’s a simple guide shaped by that experience, with plenty of ideas you can adapt in your own way.
Step 1: Choose Your Materials
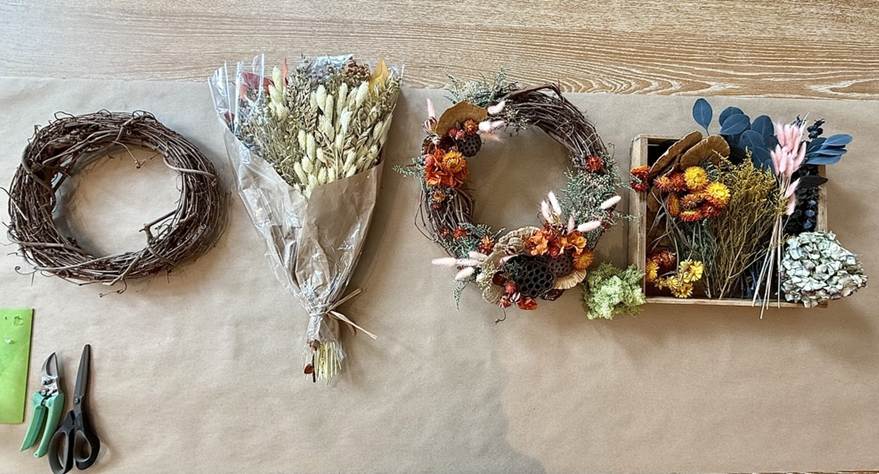
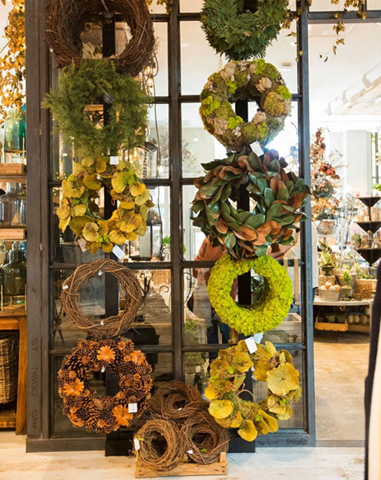
I began with a classic twig wreath form and a mix of dried botanicals. But there are countless ways to start. You might use a ready-to-go kit, a bundle of seasonal blooms, or simple craft supplies picked up nearby. The key is to choose materials that inspire you, whether organic, paper, felt, or even foraged from your own environment.
Terrain | Autumn Wreath-Making Materials
Step 2: Build the Base
Lay down your first layer with something sturdy to anchor your design. For my wreath, I tucked preserved greenery into the twig form, but faux stems or layered paper cutouts achieve the same effect. Decide early on whether you want a full circle for a traditional look or an off-center composition for something more modern.
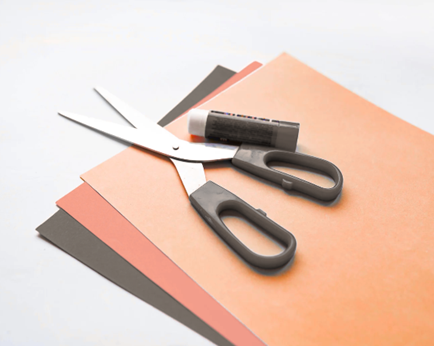
Paper Source | Fall Pumpkin & Foliage Wreath Craft Kit

Giant | Arts & Crafts Supplies
Step 3: Layer in Texture
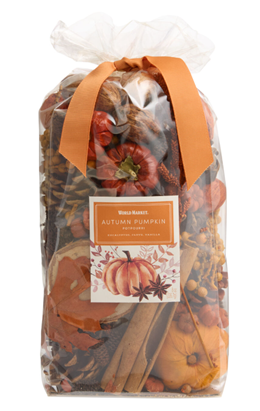
Once the base is secure, add dimension by mixing contrasting textures. Try pairing something structured with something softer. If you want a fragrant touch, try using potpourri! World Market’s Autumn Grove Pumpkin version is full of cinnamon sticks, pinecones, and seasonal accents that can double as design elements.
World Market | Autumn Grove Pumpkin Potpourri
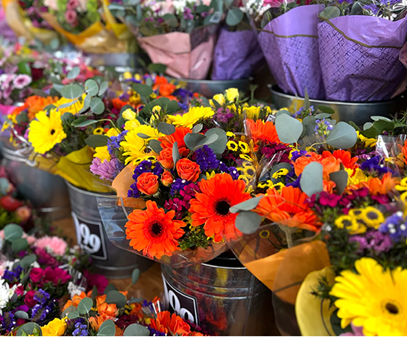
Trader Joe’s | Seasonal Bouquets
Step 4: Add Accents & Color
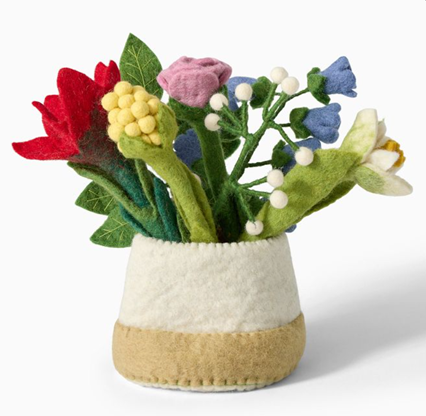
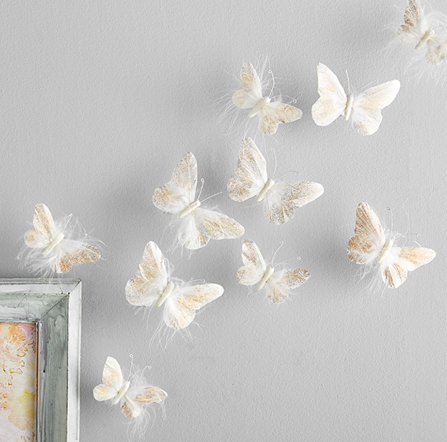
This is where personality comes in. Think in palettes: cool tones feel serene, warm shades feel cozy, and neutrals are effortlessly chic. Don’t be afraid to step outside your comfort zone. Test placement before committing with hot glue and keep accents purposeful unless you’re going for a full-on maximalist look. Felt flowers or delicate butterflies can provide that final touch of drama, elevating your wreath from simple to standout.
West Elm | Felt Flower Bouquet Set
Pottery Barn | Rose Gold Feathered Butterflies
Step 5: Secure and Shape
For trickier or heavier materials, use wire or a touch of hot glue. Step back often and view your wreath at a distance—aim for flow and balance, not symmetry. Trust your instincts; there are no “wrongs,” only different interpretations.
Terrain | Wreath-Making Class
Step 6: Finish with Intention
Add a final flourish to tie everything together, then stop before it feels crowded. A good wreath should feel cohesive at a glance and reveal texture up close.
A Beautiful Experience
Wreath-making is an ideal way to welcome the new season—part creative exercise, part social activity, and part home upgrade. Gather friends, plan a family project, or simply carve out an afternoon for yourself, and you won’t regret it. The real joy is in the making, and when it’s done, you’ll have a beautiful reminder of fall ready to hang in your home. Happy crafting!