Nothing gives me more of a confidence boost than a self-tan. With Memorial Day right around the corner, the kick-off to summer is in full swing—which might have you longing for sun-kissed skin. As someone who rocks a faux glow all year long, I know that jumping into the world of self-tan can be a little overwhelming. No one wants streaky, orange skin, and just like anything new, it takes a bit of practice. If there’s anything I’ve learned from trying multiple different self-tan products and brands, it’s that it’s a process. Read on for all the tips and tricks for achieving the perfect self-tan.
What to do before you tan
There’s a method to the madness, and before you even reach for your product, there are a few different ways to prep your skin to give you the best-looking tan.
Do your beauty treatments first
Before you tan, be sure you shave, get your nails done, get your facials, or go for a wax. All of these things remove self-tan, especially hair removal, so be sure to get them all done the day before you apply your product.
Shower and exfoliate
Applying tanning products to clean and exfoliated skin is key for a streak-free tan. Opt for oil-free body washes and exfoliate with a dry brush before showering, or use a sugar scrub or something similar. This scrub from Ouai is my absolute favorite. Self-tan will emphasize dry areas, so be sure you remove dry, dead skin from rough areas like your knees and elbows.
Moisturize
Post shower, towel off until your body is completely 100% dry. Water will dilute the tan and cause streaks, so take your time with this step—then lather on the moisturizer. You especially want to be sure you get those dry spots— your elbows, knees, ankles, and heels. Remember, self-tan can make dry spots darker, so don’t forget this step.

Applying self-tanner
Now that the skin is prepped and ready—it’s time to apply self-tanner.
Pick your product
Picking the product that’s right for you is dependent on where you want to tan and personal preference. Pick a shade that’s close to your skin tone for the most natural-looking tan, and if you’re a bit weary of going too dark, don’t be afraid to pick a lighter shade. Most products are buildable as well, so you can always add more if you want a deeper tan.
Lotions
Tanning lotions are great since they are applied just like any other moisturizer. The tan will slowly develop over a few hours; just be sure to wash your hands afterward so you avoid orange stains. My go-to? Loving Tan Deluxe Gradual Tan.
Mousses
Tanning mousse or foam is applied with a tanning mitt and is great if you’re nervous or new to tanning. Many are slightly tinted so you can see where the tan is being applied and, more importantly, where you may have missed spots. The tan develops over a few hours and can be washed off in the shower, leaving you with a faux glow for 7-10 days. Try out the St. Tropaz’s Express Bronzing Mousse!
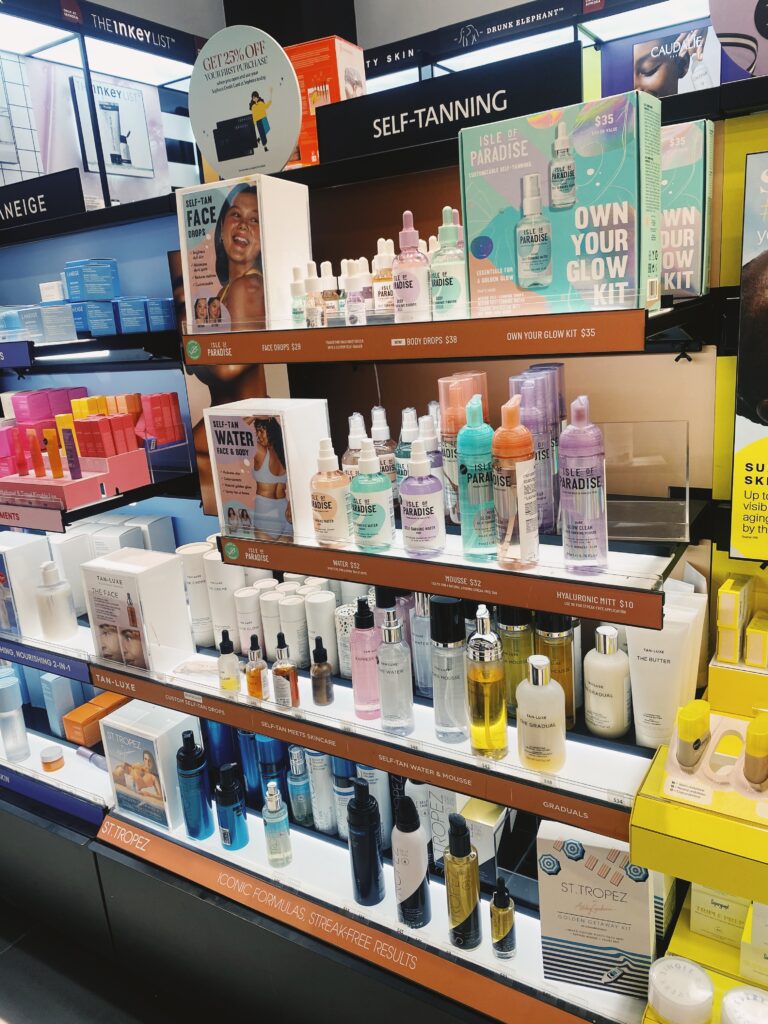
Drops
Tanning drops are added to regular moisturizers to turn them into tanning lotion. This is a great option for tanning your face, as a few drops in your facial moisturizer will give you a subtle glow. You can also add drops to body lotion for an all-over tan. You don’t need a mitt, just be sure to wash your hands afterwards. This is my favorite way to tan my face, and I use Isle of Paradise drops. It couldn’t be easier to use!
Water
Tanning water comes in a spray bottle and can be used for tanning both your face and body. You will want to rub tanning water into your skin with a mitt, and I personally love to use tanning water on tricky spots like my hands and feet. Isle of Paradise tanning water is my go-to, and I use their blending brush to buff out the tan on my hands and feet as well.

Tan your face
It’s helpful to start with your face first since you’ll apply the tan without a mitt. Whether you’re using tanning water or adding drops to your moisturizer, be sure you get the tan everywhere—including your neck, ears, behind the ears, and around your eyes. As always, wash your hands before moving on.
Start from the bottom and move your way up
If you’re using a mousse, apply the self-tanner to your mitt and start with your legs, moving your way up. Smooth the tan onto your skin in circular motions and only use a little bit over your knees. Spots that are easy to miss are the backs of the thighs, under your arm by your armpit, and, of course, your back. Have a friend or partner help you tan your back, or if you’re tanning solo, rubber band your mitt around a spatula to get the spots you can’t reach.
Let the tan dry
Once your tan is applied, wait about ten minutes before putting on clothes. You want to be sure the tan doesn’t transfer to your clothes, so wait until your skin is completely dry. Feel free to stand in front of a fan to speed up this process. Dark, oversized clothing is great for the day you tan, just in case self-tan does transfer. Avoiding tight-fitting clothing also ensures the tan can sink into your skin evenly.
Let it sink in
I allow anywhere from 4-8 hours to let the tan sink into my skin before showering. The longer you keep it on, the longer and deeper your tan will be, so allow ample time to let it marinate. You also want to avoid sweating during this time, so save your workouts, summer strolls, or sauna time for later.
Then, wash it off
Once it’s time to rinse off your tan, hop in the shower and wash your body as usual. Don’t shave or exfoliate, as these will remove the self-tan you just worked so hard at applying.
How to maintain your faux glow
Your self-tan is on, now it’s time to maintain it!
Moisturize often
Self-tan loves moisturized skin, so apply lotion daily. It’s also a great idea to exfoliate every 2-3 days to keep your skin healthy and glowy.
Pat skin dry instead of rubbing
After showering, avoid rubbing your skin with a towel as you dry off. Instead, gently pat the skin dry to keep your tan intact.
Remember its temporary
Perhaps this is obvious, but know that your self-tan will gradually fade. If you keep your skin moisturized, a self-tan usually lasts about ten days. Swimming or excess sweating may shorten this time but know that you can always touch up your tan with drops or tinted lotions between tanning sessions.